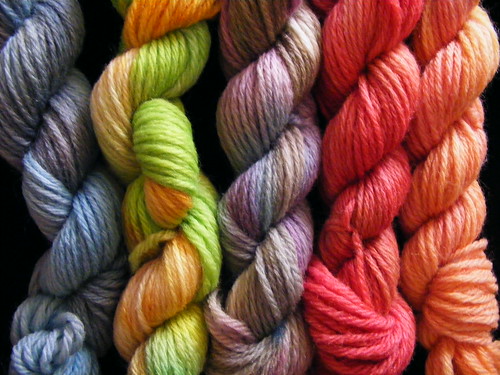
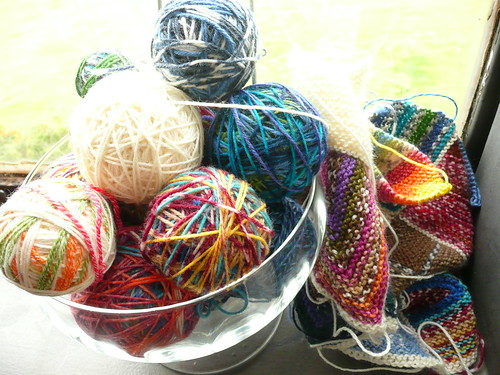
My sister is a fabulous knitter. I'm a knotter and I'm knot (! ah ha ha) kidding. I've fooled around with crochet a bit (bless my Grandma's heart for patiently showing me the basics way back when) and that goes a bit better for me since there's only one implement. Knitting has two implements, which means more things with which to stab myself. Don't get me wrong- I love the yummy colors and textures but my projects just come out, oh, lacking.
A couple of years ago my sister's family came out for Christmas and her youngest son, a creative tween, was using this thing called a Knifty Knitter, made by ProvoCraft. You can link over to ProvoCraft's Knifty Knitter page by clicking
here. My daughter was intrigued by what he was doing and we eventually picked one up at our local very well-known big box store. She made a couple of hats and a scarf-like item before letting the knitter drift slowly deeper under the chair in the parlor.
(We have an old house, therefore it's a parlor not a living room.)
Of course I had to try it out. The basic principle is to weave your yarn around a static frame and loop the second row over the previous row using a modified hook, thus creating the loops that hold the knitting in place. You continue knitting around in a circle, adding rows, until you have reached your desired size of hat, scarf, wrap, whatever. Then you knot it off and remove it from the frame.
Let's go through an easy hat together. Don't freak on me when you see these pics- it's way easy.
For this hat, I used the green (second to largest of four) hoop and a "6" yarn- pretty bulky but hats made with this weight yarn and very warm and snuggly. Secure the yarn to the anchor peg with a slip knot and ...
...take the yarn up between the first and last pegs. The first peg is the one to the immediate right of the anchor peg.
Wrap the yarn around the first peg from the back, around to the front, and to the back again. Move to the next peg and bring the yarn around to the front on the right side of the peg.
Repeat as you did with the first peg by wrapping around the front to the back and move on to the next peg, bringing the yarn to the front on the right side of the peg.
Don't wrap the yarn too tightly.
This is how it will look from inside the hoop. Go all the way around to the last peg, the one to the immediate left of the anchor peg.
After the first lap, continue around the hoop again, wrapping above the first loops.
Go around the hoop, back to the last peg.
You'll have two rows of lopped yarn.
Helper hint--- when you are making your second lap around the loop, as you come to each peg ...
... slide the first yarn loop down on the peg with your thumb. This gives you room for the second loop and also created space between the two, which will be helpful in the next step.
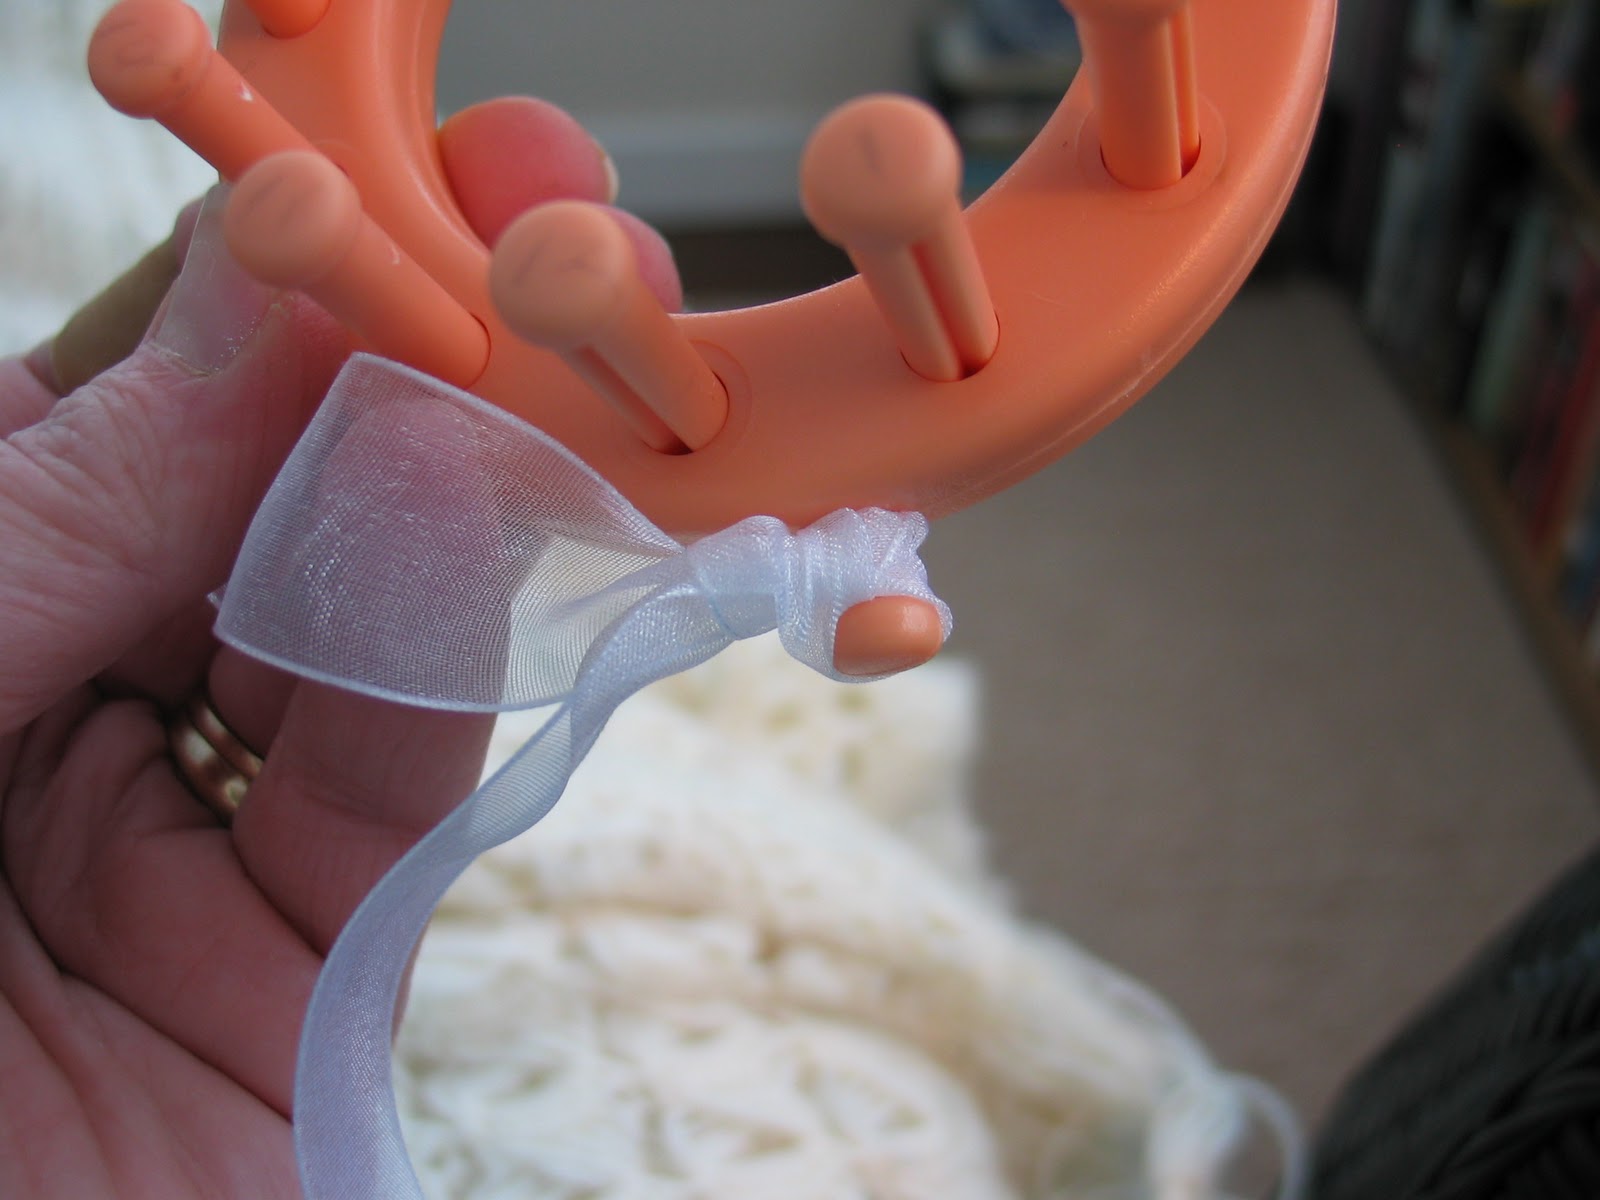
Make a loop, slip it over the anchor peg, and ...
... pull it tight in order to keep your yarn from un-winding as you work on the next step.
Slip the modified crochet hook that comes with the hoops under the first loop on the first peg.
Pull the yarn up over the top of the peg and let her drop to the inside of the hoop. The first loop that you try to lift over the peg will be tight but don't panic- just wiggle it over.
This is what is looks like on the inside. The three pegs on the right have been hooked. The two that you can see on the left have not been hooked yet.
Once the first, or bottom, row has been hooked and you are back at the anchor peg, undo the yarn that you secured to the peg and start the whole process over again.
Always start at the first peg to the immediate right of the anchor peg.
Another helper hint--- this is how I hold the hoop. I keep the plam just below the thumb against the pegs that have just been wrapped to keep them from coming undone. It's kind of like holding a tamborine. If the yarn starts to unwind, you can end up with many pegs that need to be done again.
After you have done 6 or 7 rows, you can take the starter end of your yarn off the anchor hook.
Continue looping and hooking until you have the hat to the length that you would like. I can't really tell you how many rows because that's a personal preference (toboggan hat versus skull cap) and it depends upon the weight of yarn and size of hoop that you are using. You'll know.
OK- a big chunky yarn needle comes with the set of hoops- like the kind used for plastic canvas. Secure the yarn to the anchor peg on the side. Cut a piece of yarn to about 12 inches. Thread the end of this yarn piece onto the big needle and bring it up through the remaining loop on the first peg. Come at it from the bottom.
Clarification- you will have only one row of yarn looped around the pegs when you start with the big needle.
Pull the yarn off the peg ...
... like so.
Keep moving from one peg to the next. It will look like stringing beads. Just like beading, don't let the tail end of the yarn pull through the loops.
I like to pinch the tail between the fingers of my left hand to keep it from sliding off through the loops I have already taken off the pegs.
Once all of the loops are off the pegs, carefull pull the top of the hat closed with the drawstrings.
You will have three strands of yarn: one from the original yarn that you were looping around the hoop and two from the drawstring you used to take the yarn off of the pegs and draw the hat closed. Weave these back into the hat using a crochet hook or the big yarn needle that came with your set. Also weave the tail way back at the beginning of the project.
And here's my hat! I have long hair that I usually wear up on my head so I made my hat longer with some extra rows to accommodate all that mess.
And Big 'Un got one too! He's been wearing his hat all over the place this winter and looks like there's some more snowy weather starting up just now.
Shout out to Zippy for doing a great job at the photo shoot with my new camera.
And I made a hat for Zippy. She didn't want any flowers.

There are two basic kits. One kit has five round looms and the other has four long looms. Of course there are accessories: looms for granny squares, bows, flowers, pom-poms, tassels, and something called a straw loom, which looks very mysterous to me. There are replacement needles and parts and project books. The website also has a nice listing of different types of weaving patterns as well as project instructions.
What can you make with a knifty knitter besides hats and scarves? Name it: baby blankets, stuffed toys, bags, ponchos, cuffs and collars, ipod jackets, baby booties, and vests.
To my sister, and most of all you talented folks, this is probably not too impressive. But some of us are "knitting impaired" and it was a blast to whip out a nice hat or snuggly scarf and say, "Oh this old thing ...." And the really fun part has been introducing this gadget to some of my patients who have been unable to knit for various reasons. It's easy, it's quick, and it opens up some new brain pathways, a habit that keeps us young!
So yea, check it out and have a blast. Let me suggest that you find a place to store the looms besides on the floor next to your work table because those pegs can wreck havoc on bare feet.
This is kind of a long post today so we'll look at making the cool flowers next time.
See ya then!